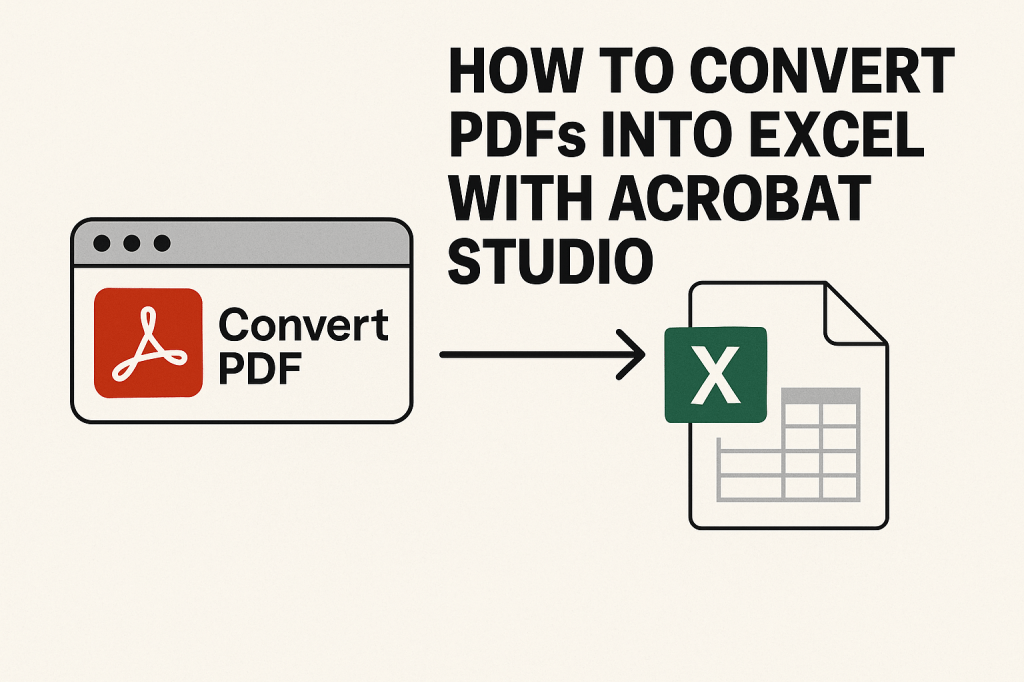
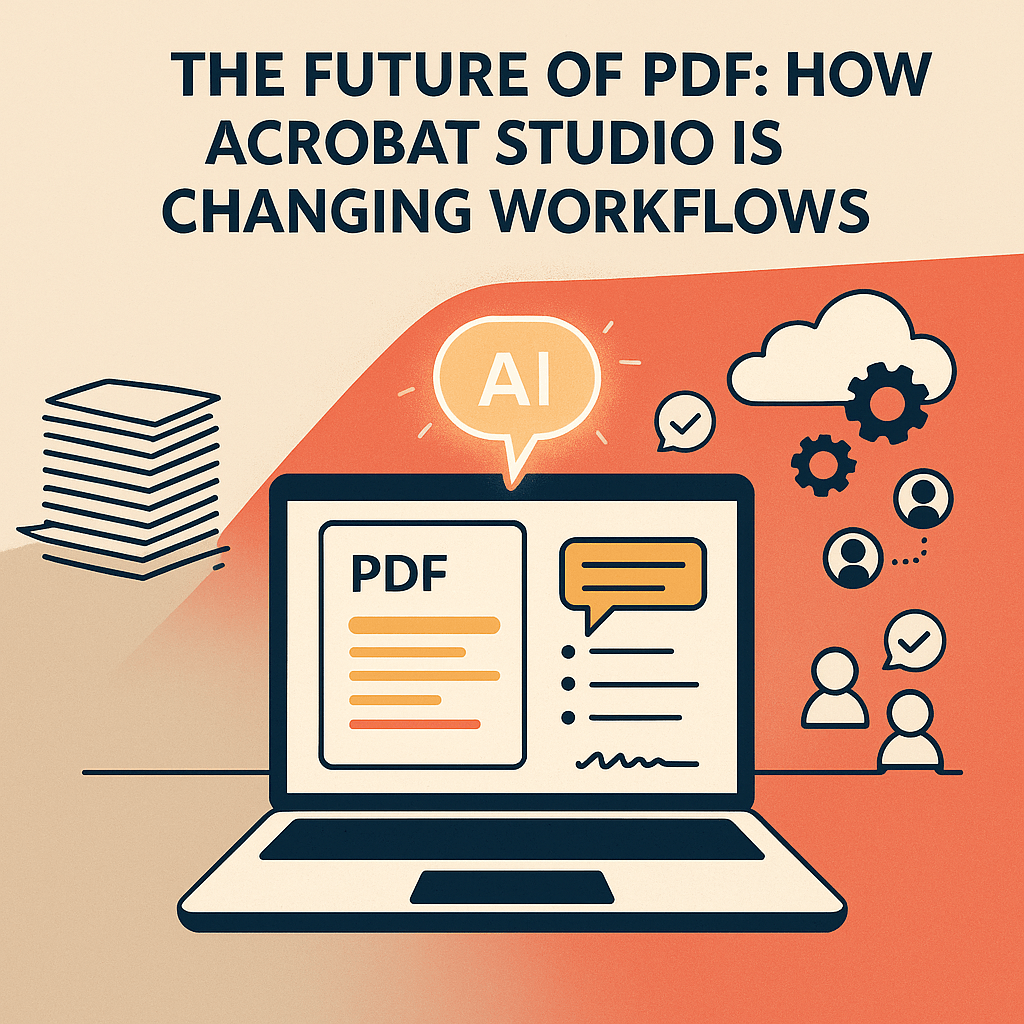
Extracting data from PDFs into Excel used to be tedious and error-prone. With Adobe Acrobat Studio, you can now convert PDFs into fully editable Excel spreadsheets in just a few clicks — without losing tables, columns, or formatting.
Here’s a step-by-step guide to converting PDFs into Excel with Acrobat Studio.
📌 Step 1: Open Your PDF
Upload your PDF into Acrobat Studio from your computer or directly from cloud storage like Adobe Cloud, Dropbox, or Google Drive.
📌 Step 2: Choose “Convert PDF”
From the Tools menu, select Convert PDF. Acrobat Studio will give you export options.
📌 Step 3: Select “Microsoft Excel”
Choose Excel Workbook (.xlsx). Acrobat Studio uses AI to:
- Detect rows and columns.
- Preserve tables and headers.
- Keep numeric formatting intact.
📌 Step 4: Review and Adjust in Excel
Once exported, open the file in Microsoft Excel.
- Double-check formulas, if needed.
- Adjust layout or styling for reporting purposes.
📌 Step 5: Save and Share
You can now save the file as an Excel workbook, share it with teammates, or integrate it into larger data workflows.
✅ Why This Helps
- Businesses can move financial reports into Excel quickly.
- Researchers can analyze data without manual re-entry.
- Nonprofits can prepare grant-related budgets faster.
✅ Final Thoughts
Acrobat Studio makes PDF-to-Excel conversion seamless, saving you hours of manual data entry and ensuring accuracy.
🔗 Try Acrobat Studio Today
Want to streamline your data work? Get Adobe Acrobat Studio here and convert PDFs into Excel with ease.


One response to “How to Convert PDFs into Excel with Acrobat Studio”
[…] PDFs into Word, Excel, or […]
LikeLike